Your document library provides a place to host and organize downloadable files for visitors to your website.
Uploading New Documents
To upload new documents to your document library, go to Documents -> Add New, you should see a screen like this:
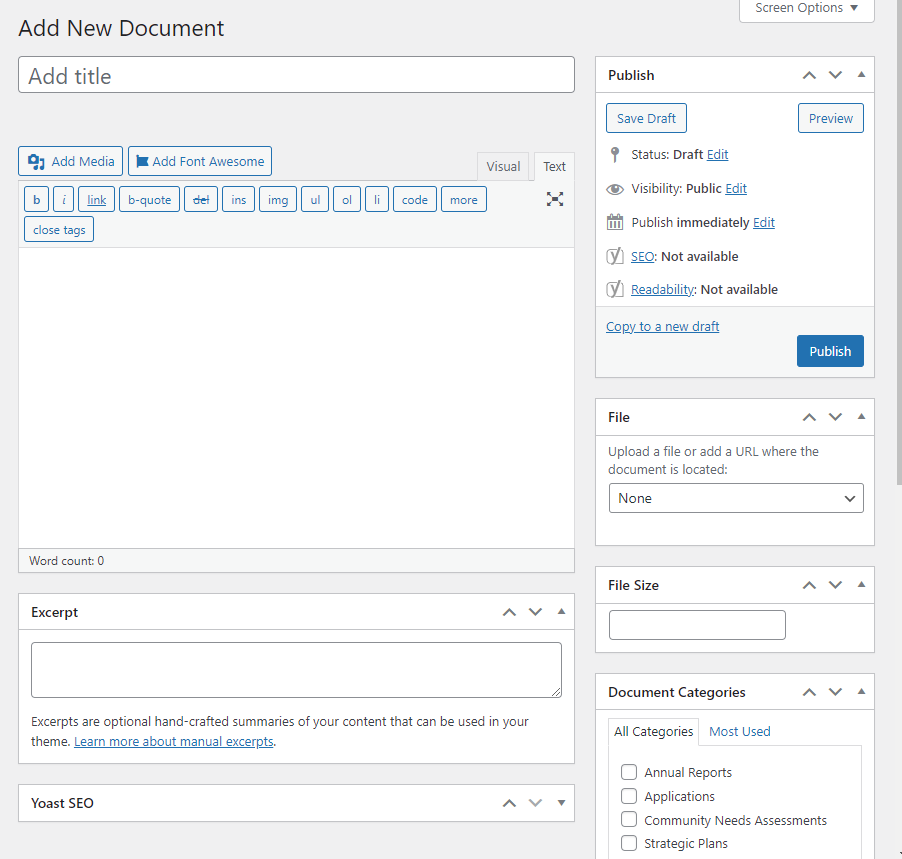
In order of appearance, the fields are:
- Title: Shown in the library as the name of the document.
- Description: Box with Add Media & Visual / Text tabs, a place to write or provide additional information about the document. Shown on the website page about the document.
- Excerpt: Not used.
- Yoast SEO: Not used.
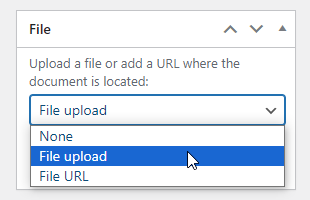
- File: This is a dropdown box that lets you either upload a file, or setup a link to a file URL.
- File Size: If you upload a file, this will be automatically calculated, otherwise you can enter something here, but it is not required.
- Document Categories: Document will be shown inside of these folders / tabs in the document library.
Uploading a file:
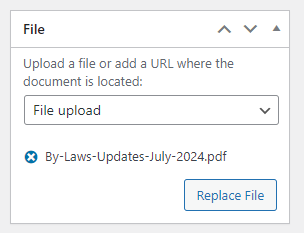
- Select File upload in the File box
- Click Add File and upload / select your file from the media library
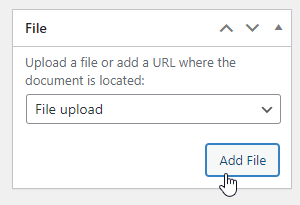
- Once a file has been selected, the box will look like this:
Linking to a file:
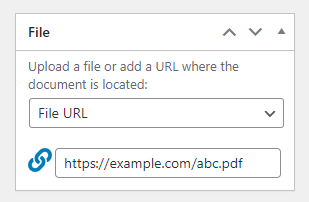
Linking to a file means copying a URL online somewhere, like this one https://example.com/abc.pdf, and making the Download button on your document link to it.
Select File URL in the File box and copy & paste your URL into the box:
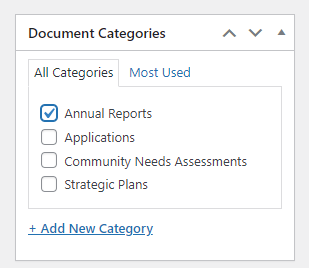
Categorize your file:
Select or add a category, or categories, to place your file into:
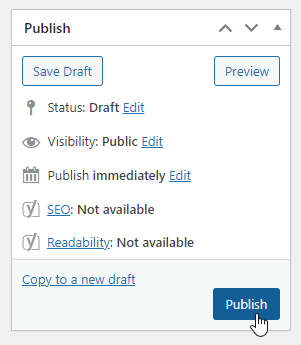
Once you’re ready to publish your document onto the website, click the Publish button: